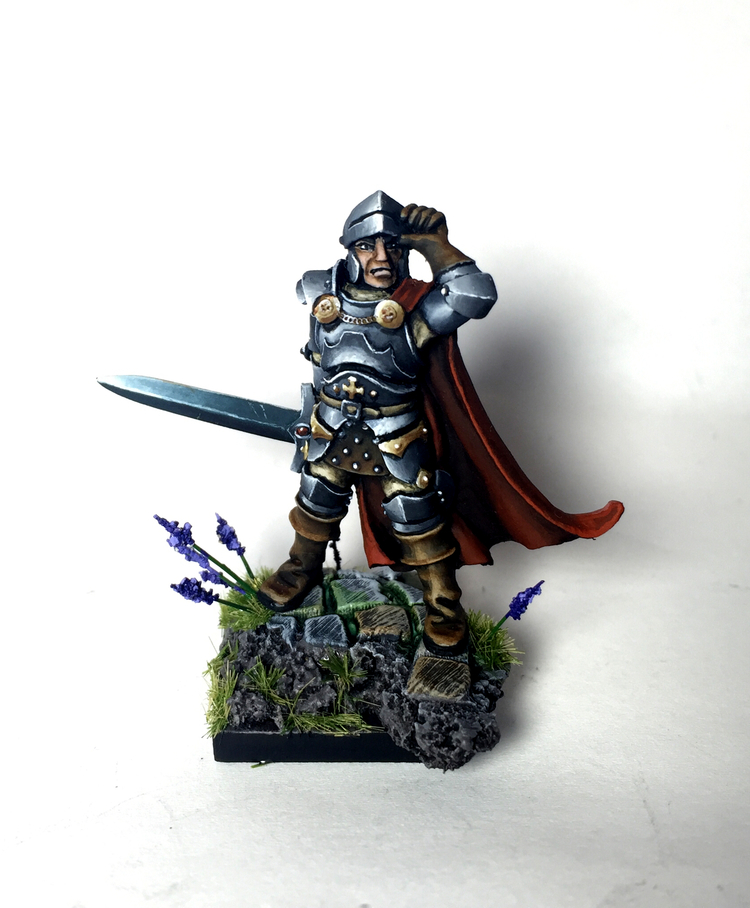
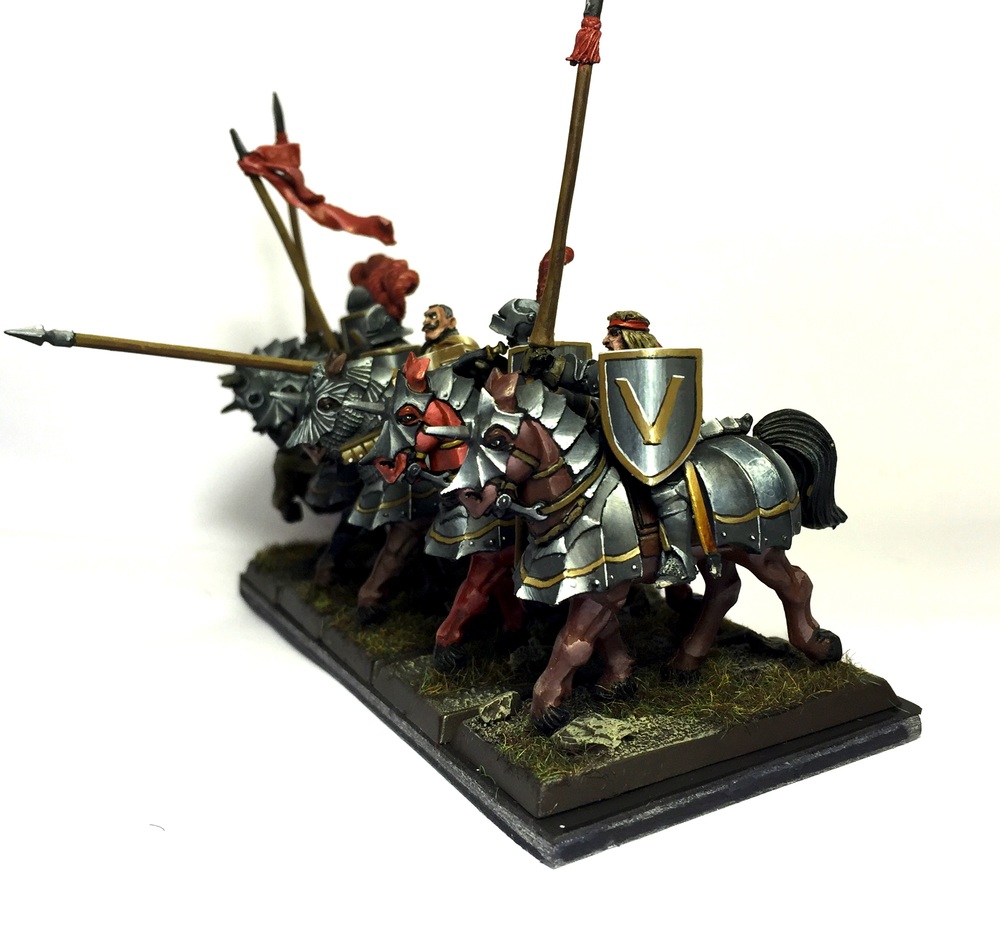
After my recent post on the Alcatani I've had a few people ask me about my formula for gold, so I thought I'd do a post about it as I've got a few more gold models coming up. It's really very simple and all it requires is patience and a little practice.
From left to right: Model Air Armour Brown, Model Color English Uniform, Model Color Sand Yellow, Game Color Dead White.
First up, the paints. I use 4 paints for gold metal, same for silver metal. They are all warm shades and they blend together quite well. You can mix and match the colours without any problem, just aim for a similar lightness of colour in your 4 choices. You can get away with 3, but it looks better with 4 in my opinion. Your darkest hue should be a very thin paint. I use Model Air because it's thinned down and smooth, but you could just adjust the density of the paint with some water or thinner.
Before you start you should identify the light source for your model. I would normally take a photo of the model base coated with my painting lamp where my light source is. Don't worry if you get it wrong, if you look at any picture of armour in natuarl light it can be hard to identify a light source because it reflects everything.
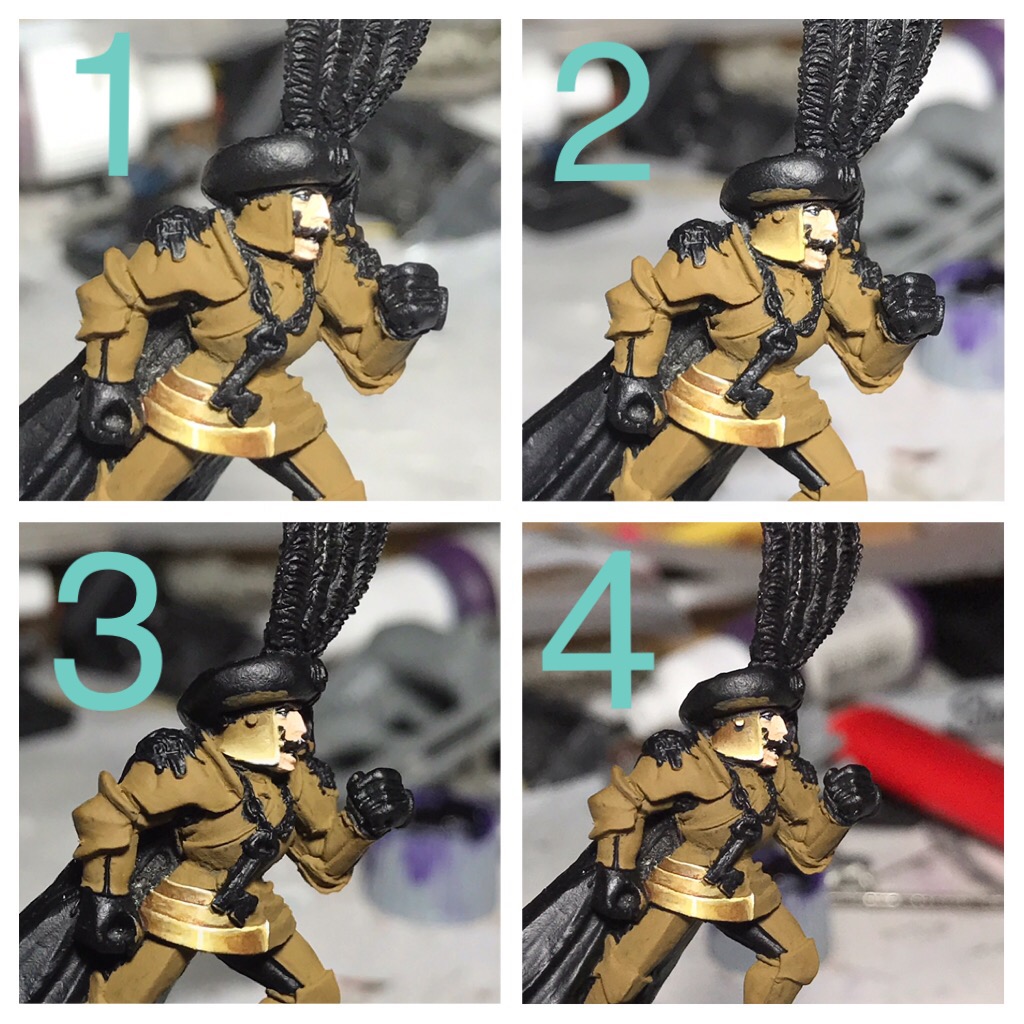
Here is the 4 step process used when painting the helmet beaver:
Step 1 - Base Coat
Using your base colour, English Uniform for me, paint the surface. I normally like to finish each segment before moving on to the next, but in this case I base coated the whole armor.
Step 2 - Wet Blending
Once you have identified the point that will have the lightest colour, you're going to need to create a smooth transition of your highlight colour (Sand Yellow for me) to the base colour. I use a process called the loaded brush technique. You can use glazing or layering, but they take longer and in my opinion once you're good at the loaded brush it produces better results. If you don't know this technique, there are a bunch of videos linked at the end that will show you how, I highly recommend learning it. If you're after a shinier metal, make the transition faster, smaller bright point will look shinier than larger surfaces of bright metal.
Step 3 - Edge Highlighting and White Points
Once you're happy with the blend, dry your brush, load up in the highlight colour and run it along the edge of any surface pointing towards the light source. Do not edge surfaces pointing away from the light, it won't look right. Then with a tip of thinned down white, put points against any areas that you thing should stand out. The brightest corner of your highlight colour, any corners pointing towards the light, the edge above your brightest point of highlight colour.
Step 4 - Shadows and Rivets
With your shade colour (Armour Brown for me), thin it down (thinner is better because you can always do it twice if you need to) and focus on any areas pointing away from the light source. If you keep it nice and thin you shouldn't have to worry about creating a sharp edge of paint between your base colour and your shade. Make sure you also put some shade around each rivet in the armor to make it really pop. Put a drop of highlight on the top of each rivet to make it shine too and add to the effect.
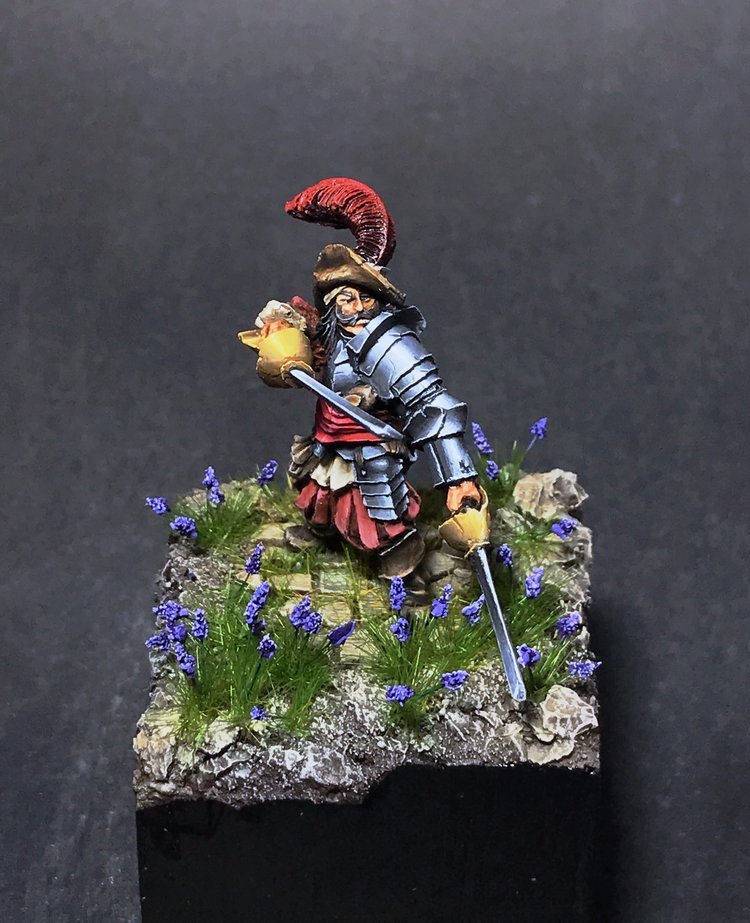
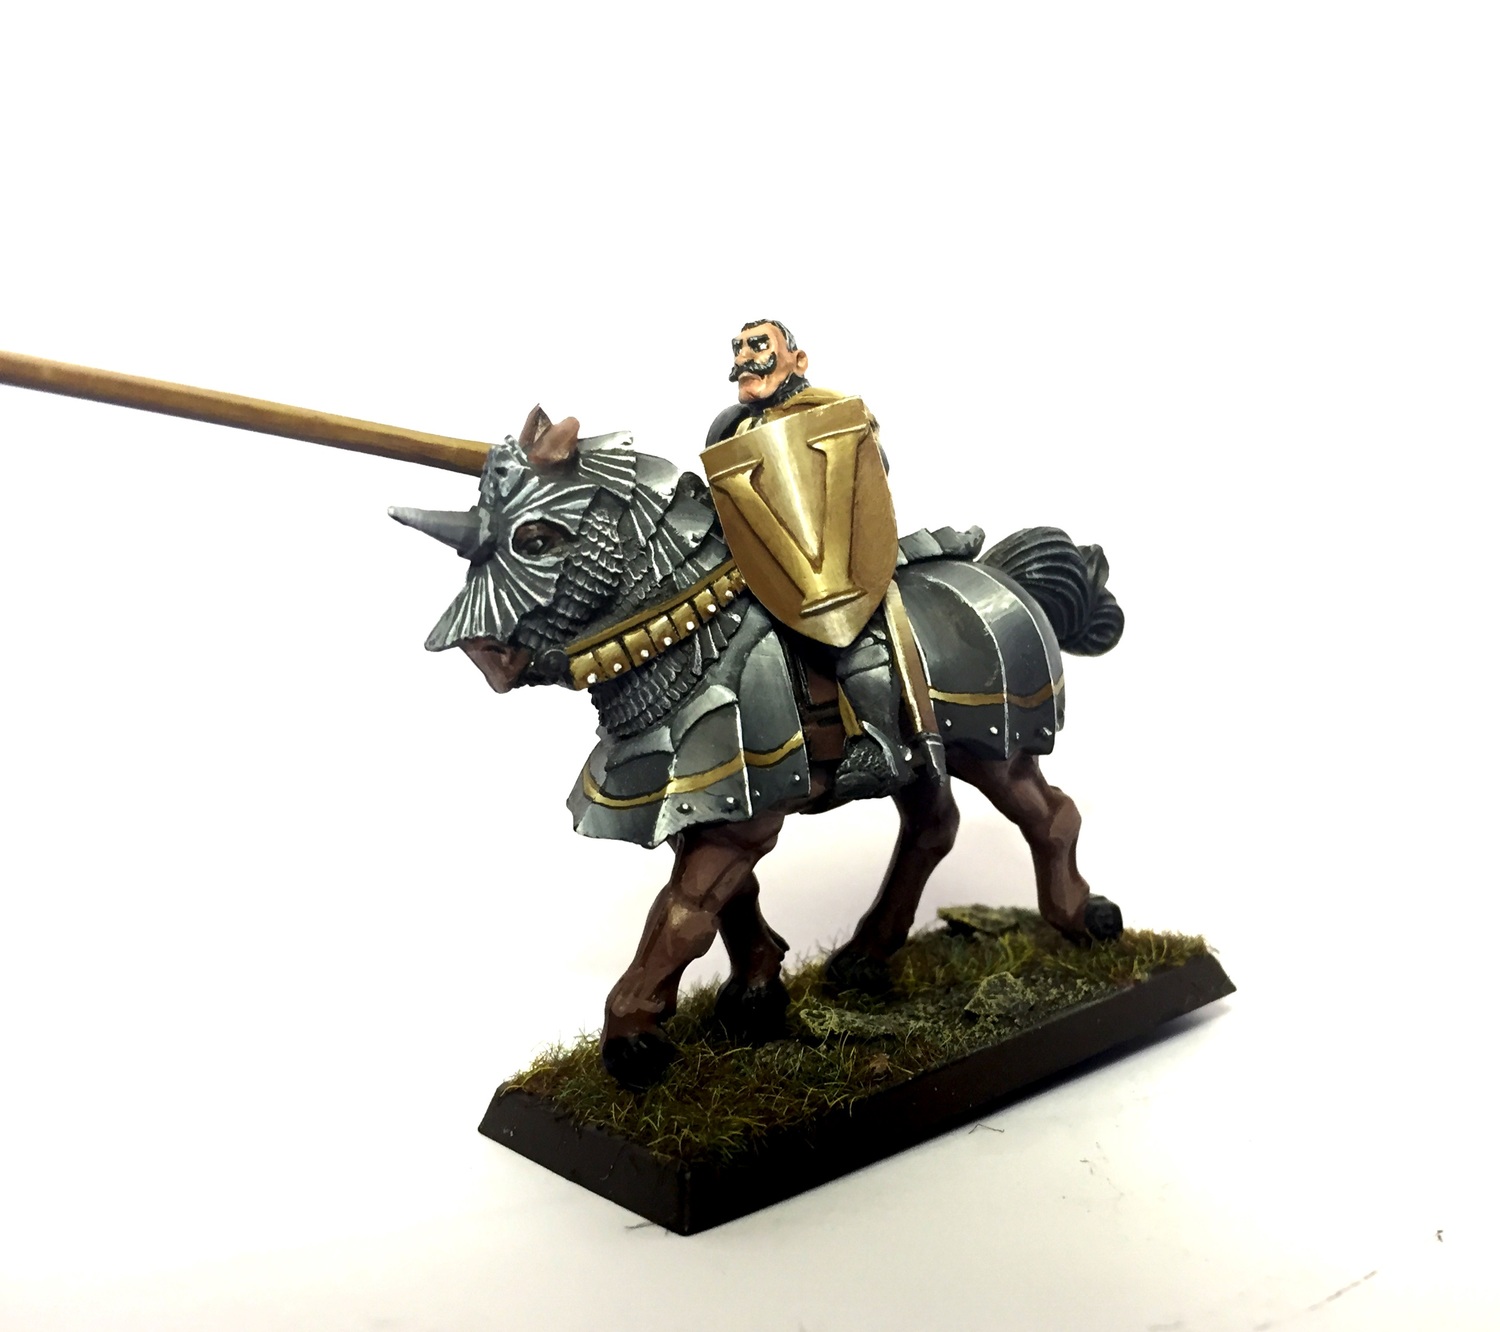
And the finished armour result. I'm pretty well practiced now, so this guy took me about an hour, maybe an hour and a half because I was stuffing around with this or that. The first time I did it it took me a whole night just to do one horse's barding. There is no doubt about it, this technique takes some practice to get it right and a decent time investment, but I think the results are totally worth it.
If you have any questions, just ask me on facebook or in the comments below. I hope you find this useful.
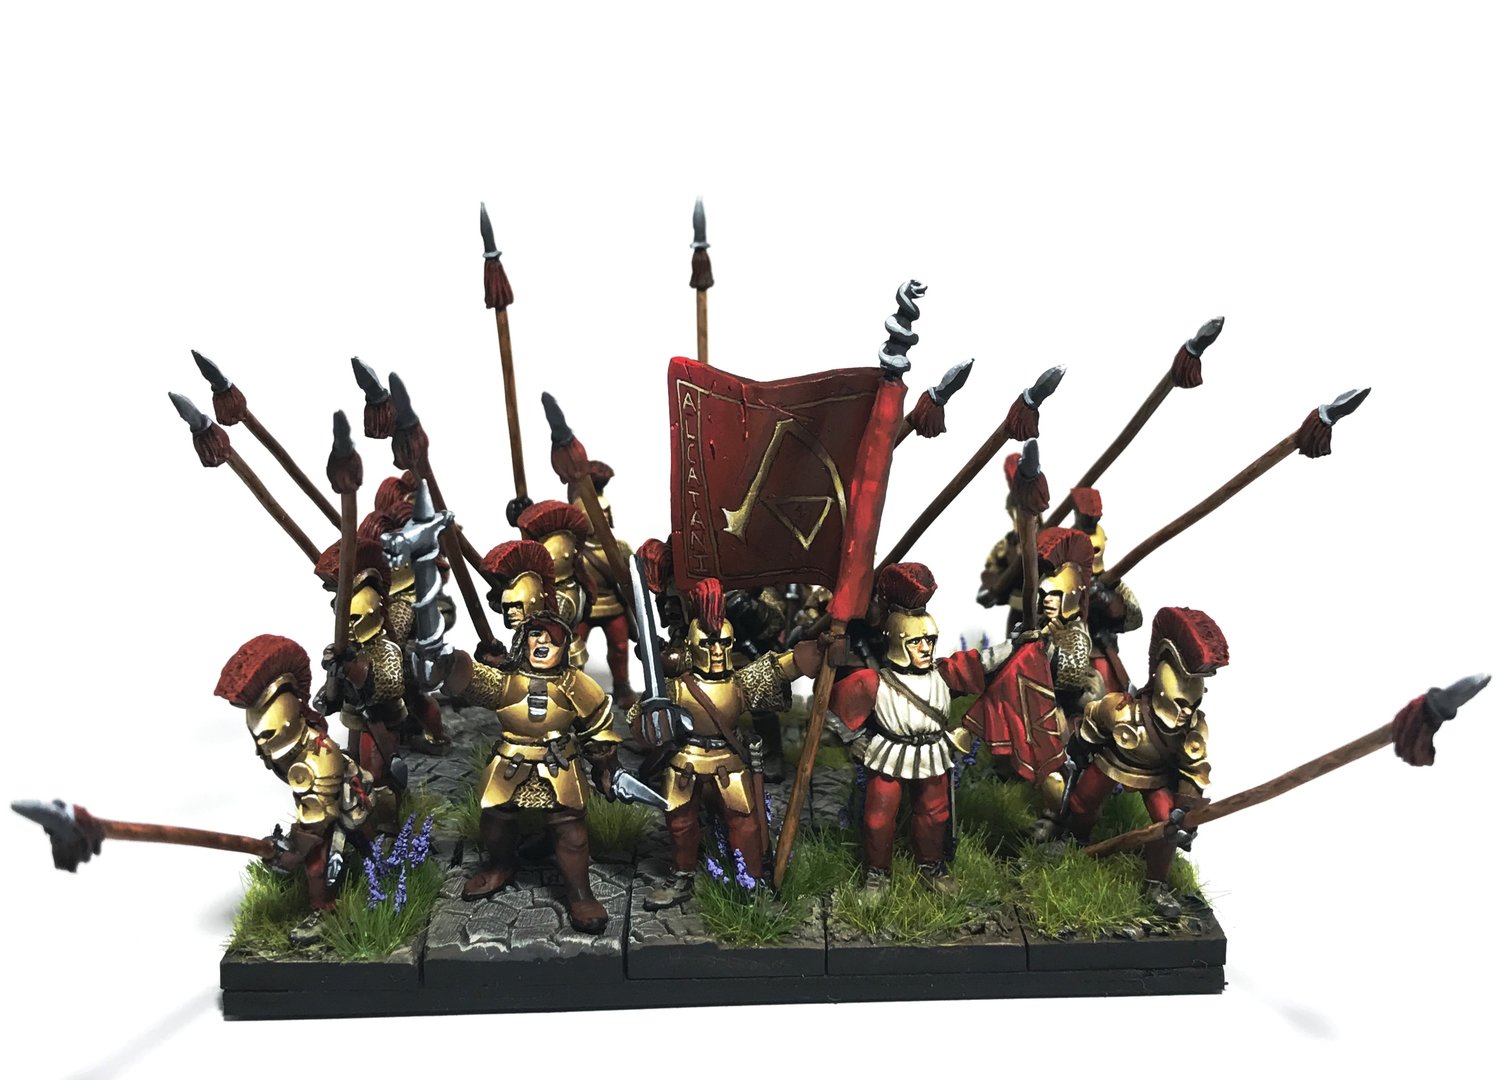
Here are some of my completed non metallic works:
And before I forget, here are the video links on the loaded brush technique:
