Tutorial

Rolling Plains - Multibasing with Removable Models

IMG_5385.JPG

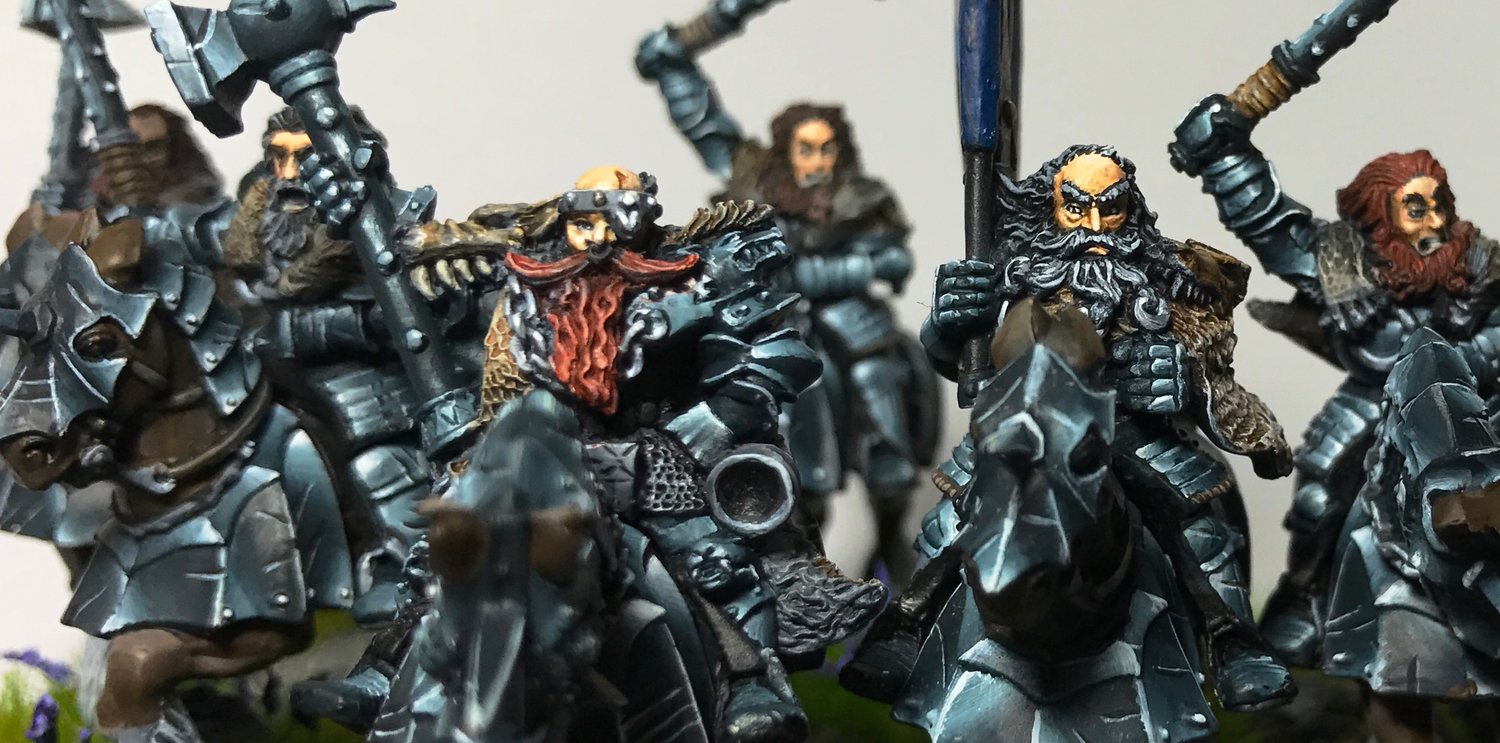
My new army project is a KoM / Leave of Rhordia Mercenary army based on my old Dogs of War minis.  I have decided on a basing scheme of rolling planes of lavender and broken ruins overrun with greenery.  This is hard to do if you're individually basing all of your miniatures, which I want to do because I still play the occasional game of T9A and use the minis for dungeon games like Warhammer Quest and hopefully Dungeon Saga at some point soon.

First Challenge - Base

The standard GW bases have tapered edges.  These will create large gaps between my troops and make my base look broken so I ordered a bunch of 20mm square MDF bases.  They are laser cut and accurate with nice square edges.  

My base is made up of three layers.  

  1. The first layer is a perspex sheet, 2mm thick and cut into two troop sizes.  I cut a regiment size and then split it in half so that they would fit together exactly.  If you have 1mm perspex then you can just score and snap it so there is no wastage.
  2. The second layer is 2mm thick ferrous rubber (feels like rubber, but magnets stick to it), glued to the perspex and then trimmed to match the size exactly.  It's not strictly required but if you want to magnetize your miniatures for transport I'd recommend it.
  3. The final layer is the bases.  Each base has a rare earth magnet drilled into it.  My unit is a skirmish style unit so the MDF bases are placed on the ferrous rubber with their magnets spaced like a skirmish unit so that it will work for both T9A and KoW.  The gaps are filled with Milliput (don't use greenstuff, milliput sands better and fills like clay)

Lastly I placed some magnets in the joining ends so that they would stick together for when I use them as a regiment rather than two troops.   Final result looks like this.  Not much to look at but a good starting point for the rest of the process.

Gotta love magnets!

Gotta love magnets!

Second  Challenge - Scenery

I wanted a road through my base.  Even Halflings like to walk on stone every now and then.  I bought a green stuff roller from Laser Shark Designs .  I laid down a mat of green stuff over the joined bases and then rolled it over with the roller.  After trimming the edges I cut out the spaces between the MDF bases, removed them and let it dry.  A small amount of trimming was required one dry to slot the bases back in, but not much.

IMG_5276.JPG
IMG_5277.JPG
IMG_5278.JPG

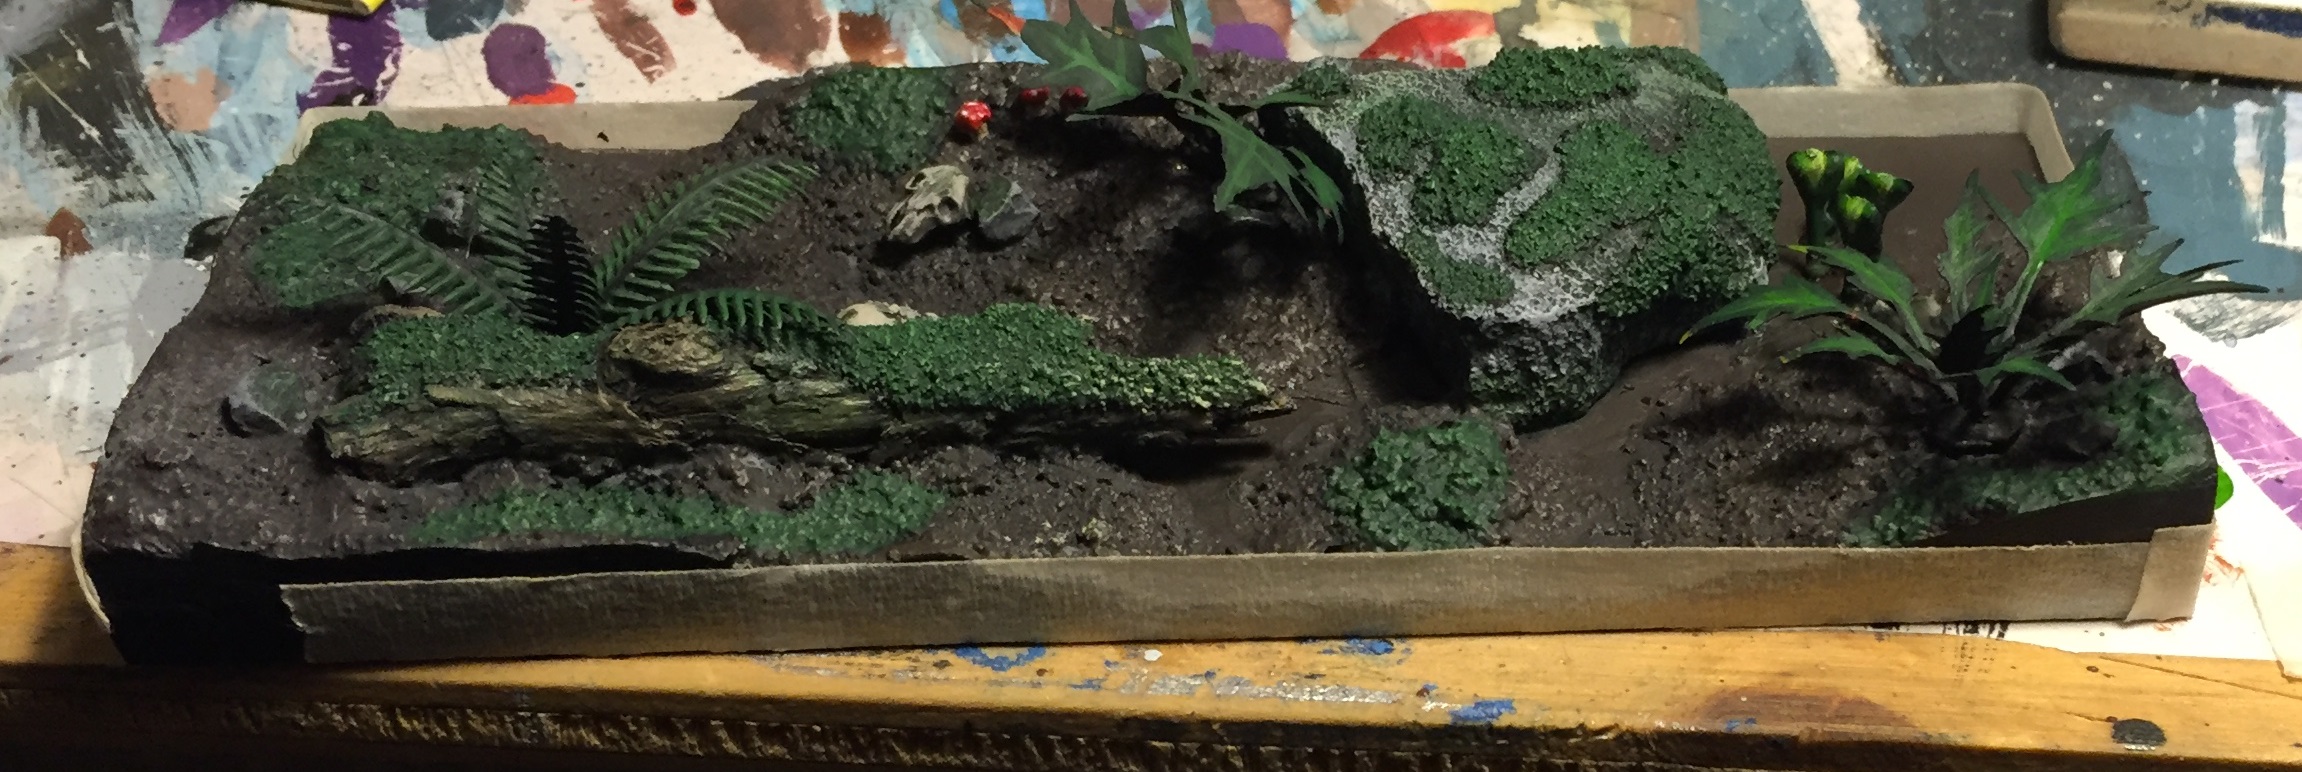
Rolling hills are rarely flat.  I wanted a messy small edge of a hill dirty and rocky.  Cork is great for that.  I got mine from spotlight, a few bucks for a bunch of coasters.  Cut them up a little and stick them down with superglue and they look good.  Cut out the edges of the MDF bases once dry just as with the road and it's done.

IMG_5387.JPG

Time for a spot of paint.  The airbrush is great for bases, saves lots of time and give you good effects without much effort.  This base was German Black Brown, highlighted with Khaki and then final highlight with Bleached Bone.  I'm happy with the results.

IMG_5282.JPG
IMG_5283.JPG

Step 3 - Grassing

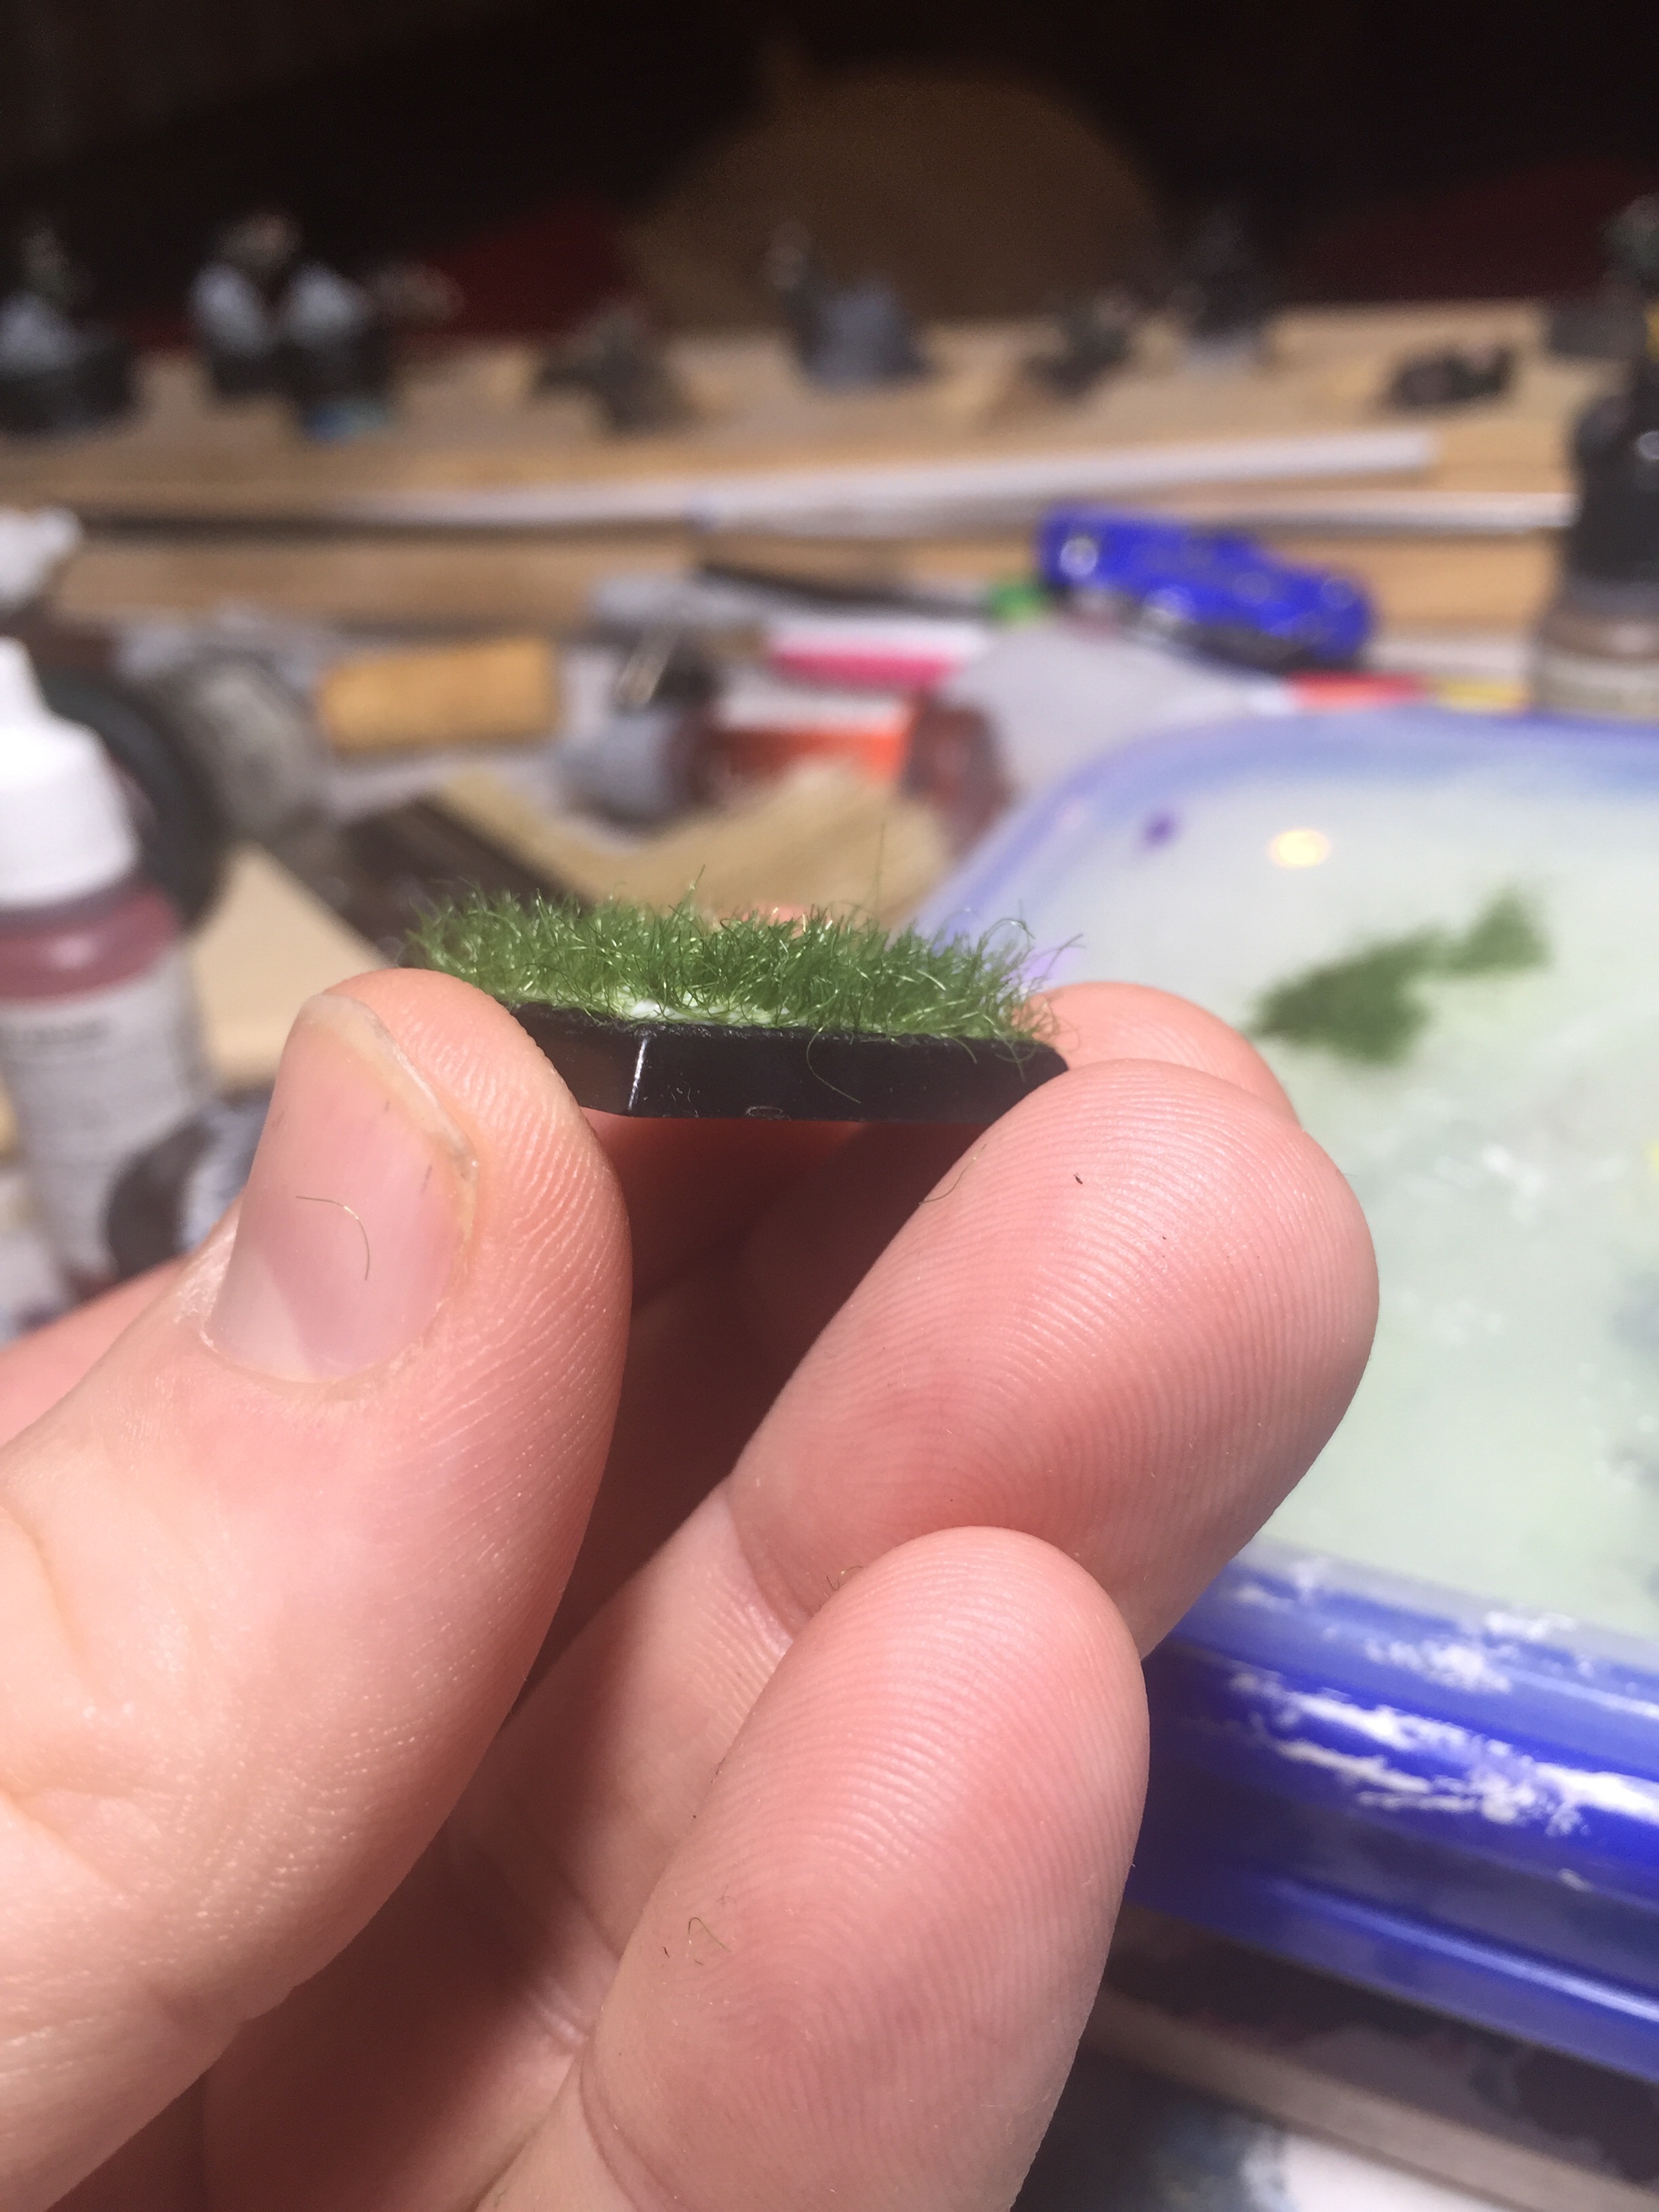
Two types of grass were used on this base.  Firstly I made a bunch of tufts.  Rather than buy these at a premium I made my own static grass applicator.  It's not hard and it works well and you can find a video on how to do it here.  I used 6mm grass for my tufts that would end up being lavender bushes and darker green than I was going to use for the rest of the grass.  I stuck the tufts along the road and along the edges of the hill where I thought they looked good.

For the rest of the grass I applied this directly to the base using the applicator.  I used a grass mix from Noch, Summer Meadow I think it's called and it's a mix of 4 different lengths in varying colours.  Once applied, I trimmed it in appropriate areas so it wasn't too tall where it shouldn't be.

I think the outcome was good.

Added a halfling for impact.  Isn't he cute?  Just ignore the base I forgot to slot into it's hole at the back ok?  Bet you didn't see it at first did you?  Damn, why did I call attention to it?

Added a halfling for impact.  Isn't he cute?  Just ignore the base I forgot to slot into it's hole at the back ok?  Bet you didn't see it at first did you?  Damn, why did I call attention to it?

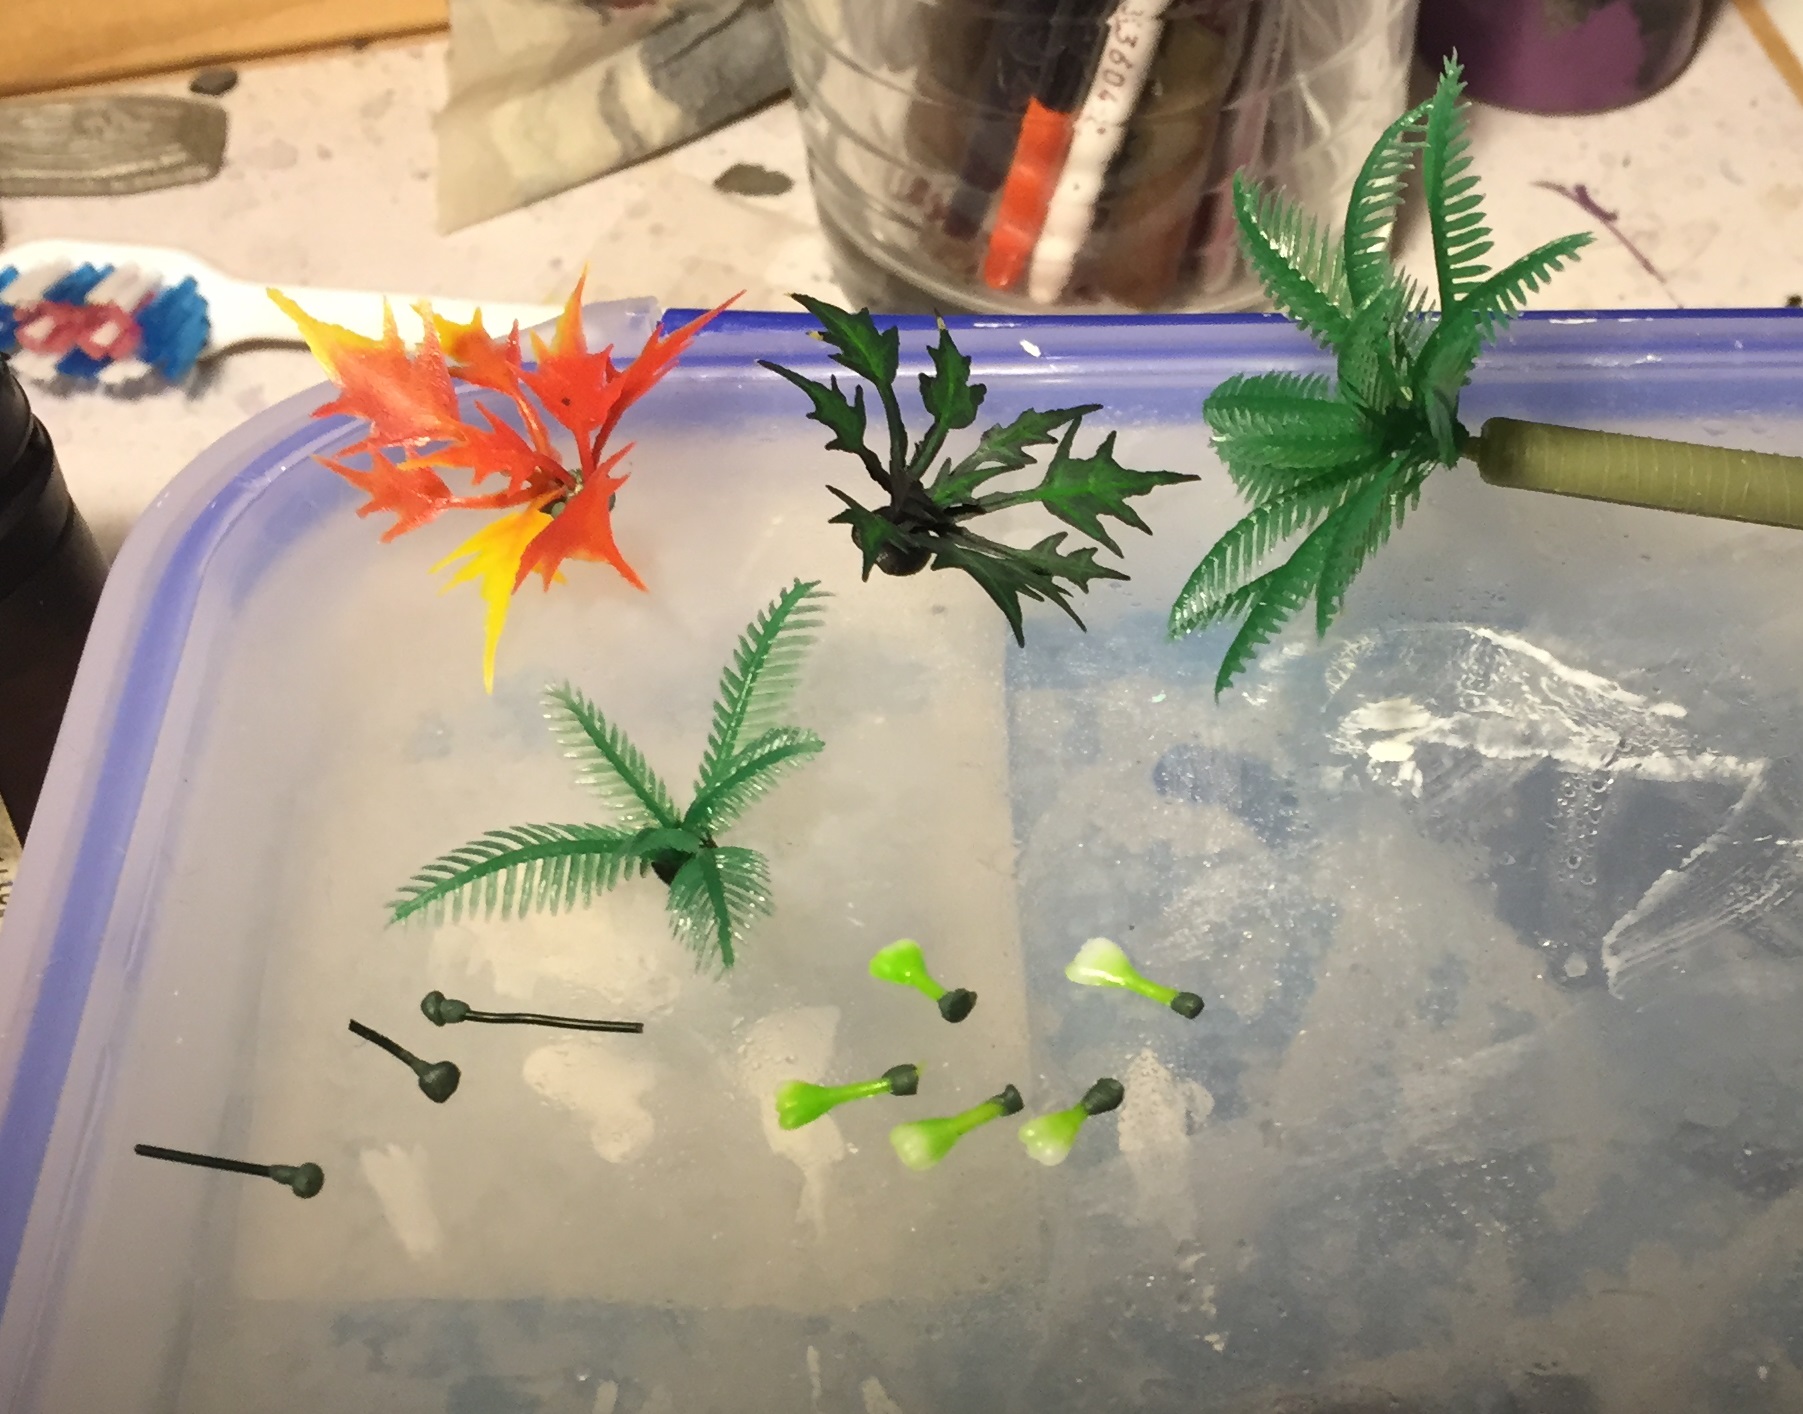
Third Challenge - Lavender

This was surprisingly easy to make.  

  1. Take a single bristle of a coarse paint brush (best to use a large one for painting walls) and paint it green.  
  2. Once dry, dip the tip in white glue (PVA for us Australians) and then into fine white sand.
  3. Again once dry, paint the sand dark purple and then highlight in light purple.  
  4. Once dry, dip the other end in white glue again and then slide it into a tuft of grass.  Slide 1-6 of them into each tuft depending on density needs.

I'd suggest sticking down the tufts in their desired location before adding the lavender or other flowers and using tweezers is essential unless you have tiny fingers and not the clobbery ones I have.
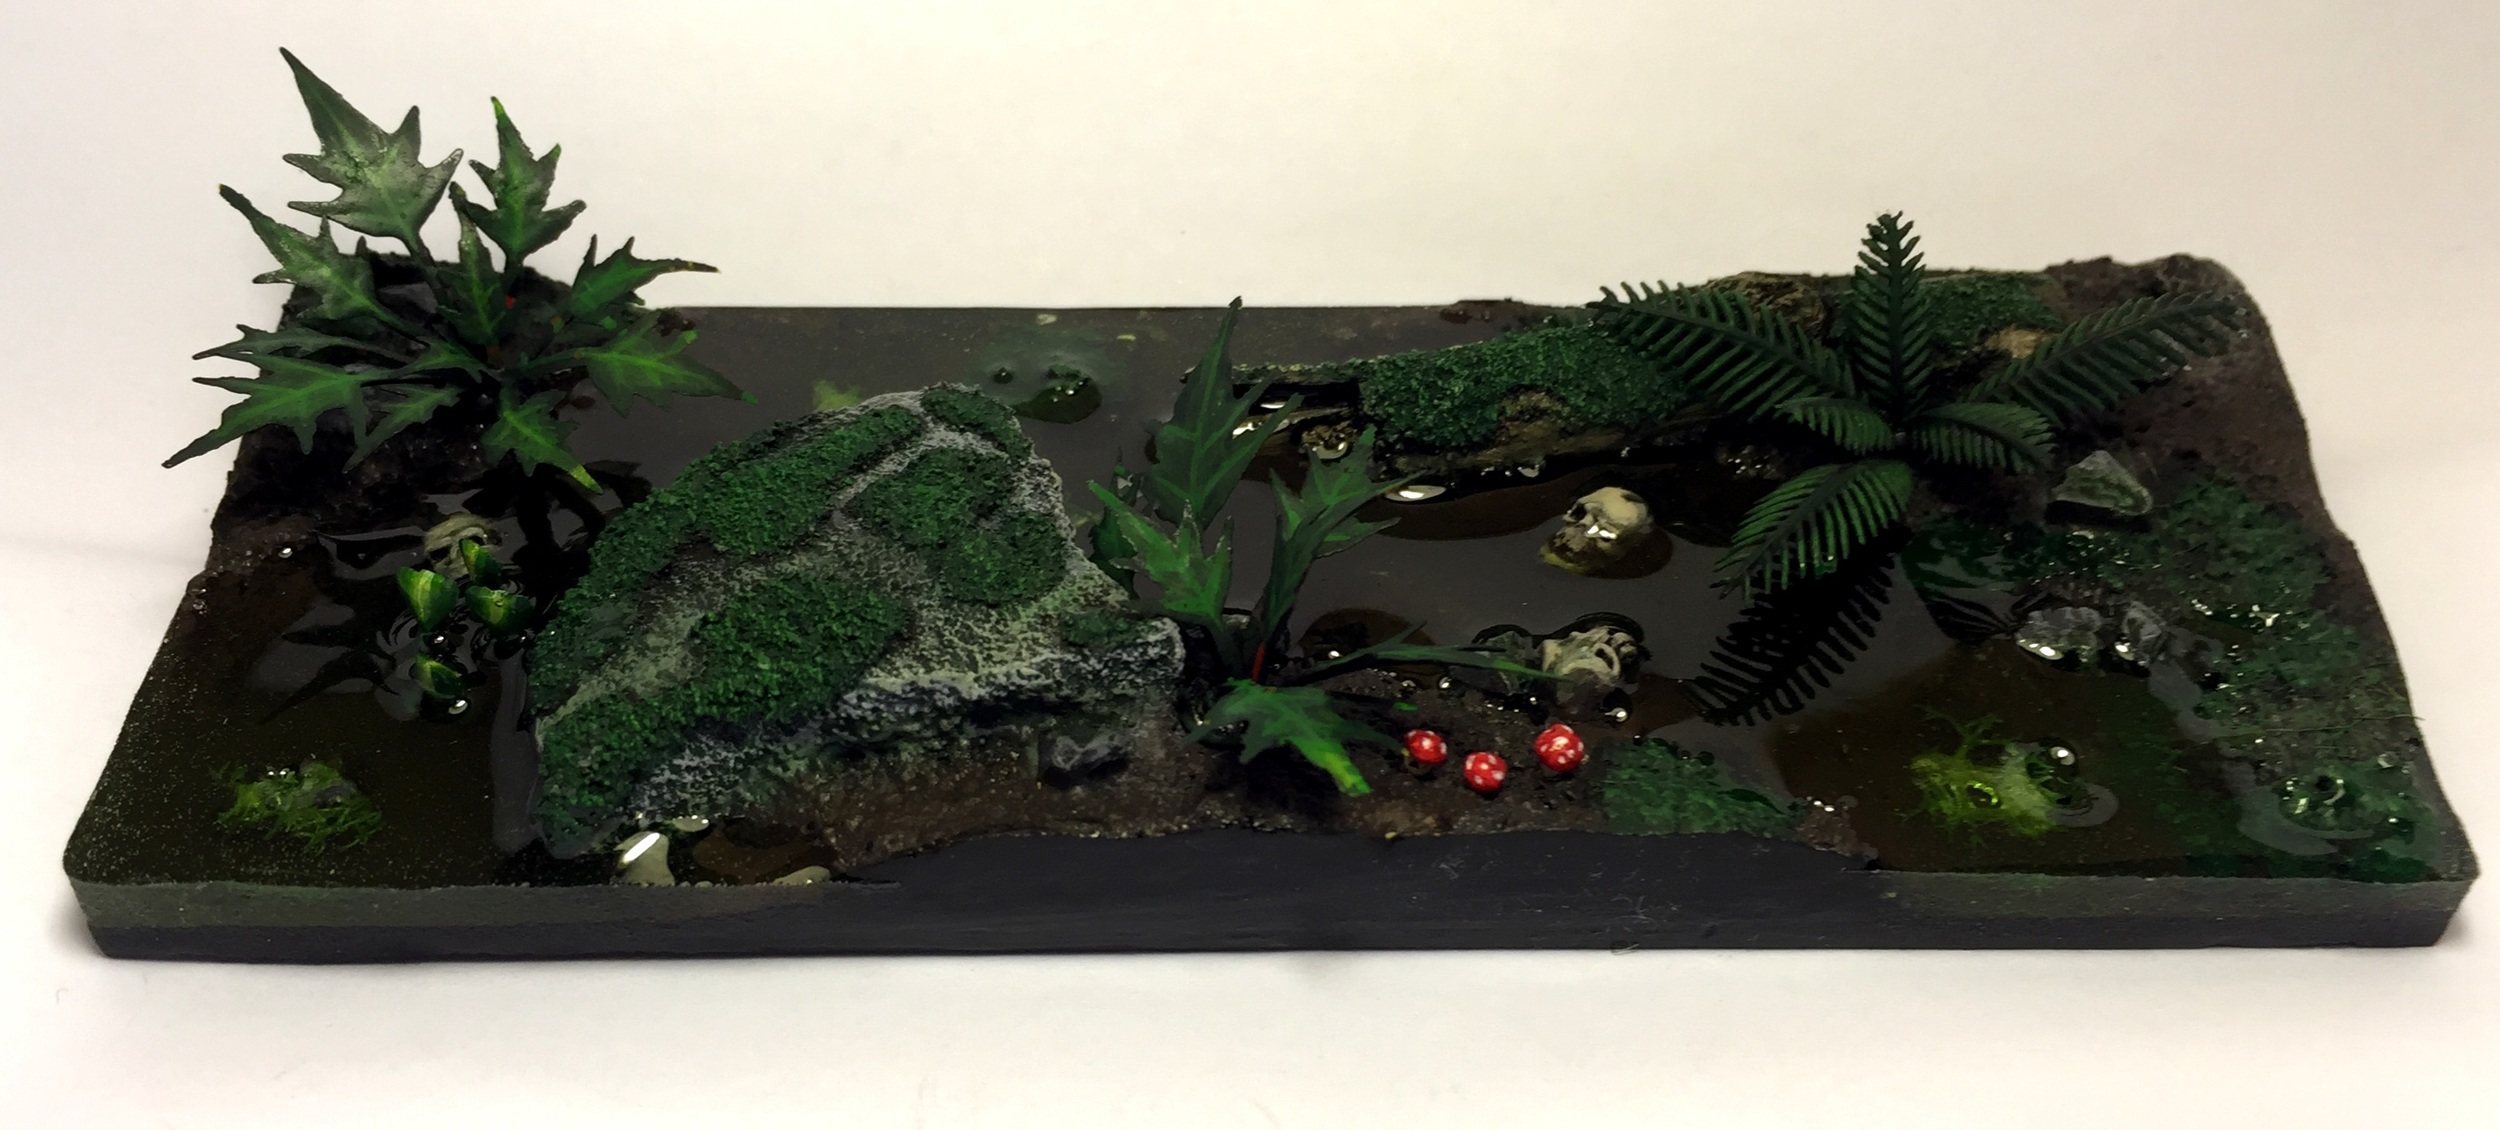
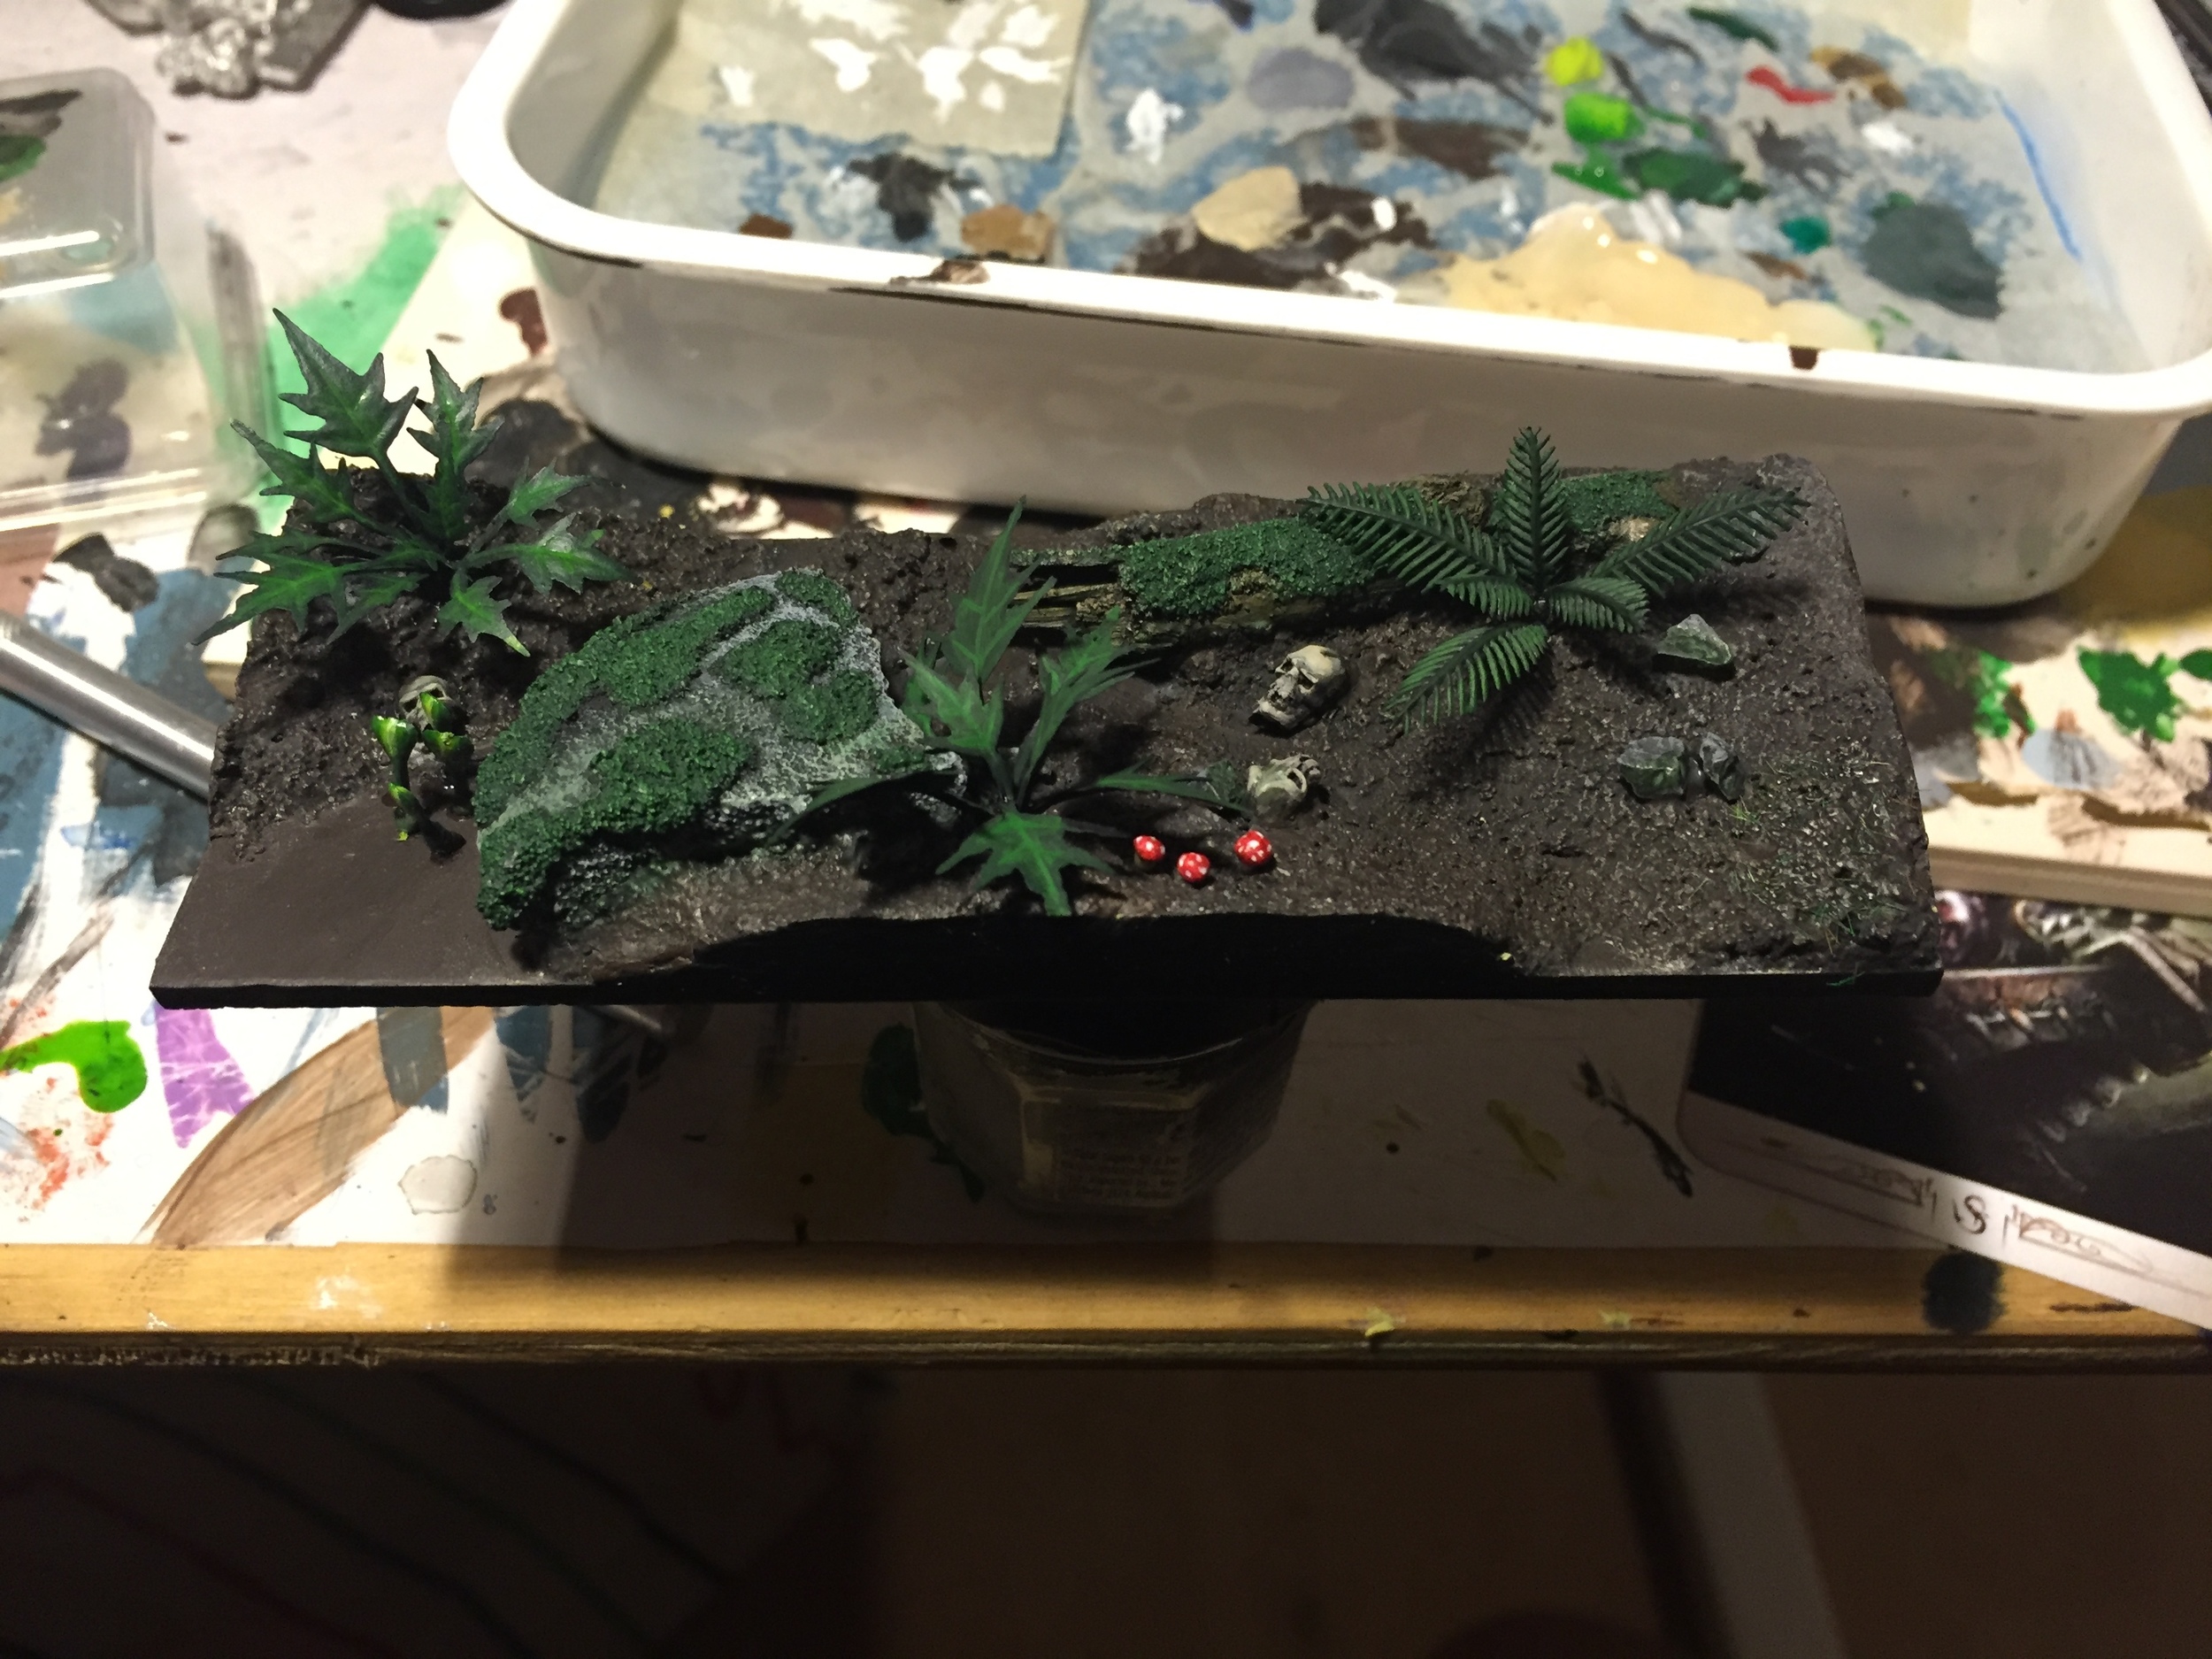
FullSizeRender.jpg

End Result

I'm very happy with the end result.  There are 75 lavenders on the base, I did them in two batches and in total it probably took 1.5 hours for the lavender.  I painted the base with an air brush and  a quick dry brush that took less than an hour and the grassing took roughly 30 mins.  Comments, questions and feedback are always welcome here or on Facebook. 

IMG_5354.JPG

Static Grass Applicator - First Steps

So this post will be a little messy because I'm really just fooling around.  Static grass is designed to react to a static field in a similar way to the reaction your hair has when you rub a balloon on it.  I have tried many times to apply grass without a static field and it just looks like matted rubbish, not a nice grassy field.   

You can buy products that do this for you, but as always I want to understand how it works so I am going to try and make my own.

The Apple is a key component! 

The Apple is a key component! 

Here are the parts I have.   

  • Two small steel plates
  • 9 volt battery
  • Bunch or wires and clips
  • Negative ION generator
  • Apple core (every project needs sustenance) 

The only important part here is the negative ION generator.  It basically creates a static field between the generator cable and ground.  Hook up the positive and negative terminals to the battery and clip the generator cable to one steel plate and the ground to the other.  Blue tack your base smothered with PVA glue to the ground plate and lay static grass over the generator plate.  

Turn it all on!  Grass everywhere!  It does work though.   

First attempt side view

First attempt side view

Second attempt top view

Second attempt top view

The grass flies all over the place and some of it sticks to the glue.  My problem with the first attempt is that it seems to go on thin.  It's good, but it could be better. 

Next step is to take away my hands, as they are grounded they mess up the field, and try to use gravity.

Creating a Swamp Basing Scheme for Kings of War

My last post was on the inspiration for the swamp basing scheme for a Kings of War Nightstalker army.  Since then I've completed my first base.  This is for a troop of cavalry and will be used for Shadow Hounds.  Those models aren't painted yet so won't be attached for a little while more, but I'm using Hormagants from the Tyranid range of GW 40K.  Water effects are easy and fun, so here's how to give it a go.

The finished product

The finished product

Step 1 - Cut your base

There are lots of places that will pre-cut you some MDF to the size you want and that's fine.  I have a large sheet of acrylic that I use and I just cut it with a jig saw and sand it down when I'm done.  It works fine and makes a good starting base, plus it's a little cheaper.

Step 2 - Mounds and Lakes

I use Fimo Modelling Clay for this step.  You can use something else if you like, Milliput for example, but just be sure that it's easy to sand once you're done.  I like clay because it's super cheap and you use quite a bit.  Mold it into place on base just as in the picture.  The low parts will fill with water.  If you have a log or a stone, make impressions in the clay before it dries.

Once the clay is all dry, snap it off and glue it down.  If you used Milliput it will bond to the base, but clay won't so use a little super glue will bond it.  Once bonded, mix some white glue with water and paint over it.  This creates a tougher surface and ensures it won't chip later.  Once again if you used Milliput this isn't necessary.

Step 3 - Sand, Rocks and Logs

Glue your rocks and logs down into the previously molded shapes you made in your clay.  I just used superglue for this part, white glue would work too just take longer to dry.

Clay and putty have too smooth a surface to look like mud or sand when painted so you'll need to add some texture.  You can use Modelling Sand (whatever brand you like) but I'm stingy so I just use cheap sand from the hardware store.  I got 10 Kg for about the same price as a small baggy of sand from a craft store.  It's fine, it's clean and it works really well.  If you want it finer (mud looks better with REALLY fine sand) like I did, just crush it in a mortar and pestle first.

Mix your sand with watered down white glue and paint it on over the mounds.  Clump it where you want to make it look wetter, messed up or mossy.

Step 4 - Who wants Moss?

Spread undiluted white glue across any surface you want to be mossy.  Don't add water because you won't get enough depth from your moss.  While the glue is still wet, you have a while white glue dries slow, pour on as much sand as you can or dip your base into the glue.  Press the sand down to spread the glue through the sand and then wait a few minutes.  The glue is pretty tacky when wet so you don't need to leave it to dry, so tap the excess sand off your base.

Stick down some extra skulls or rocks or whatever you like and you're ready to paint once it's dry.  You could add some things like mushrooms now but I find it easier to pick placement a bit later.

Step 5 - Paint.

Pick your colours, undercoat black, paint, ink, drybrush, airbrush, whatever you like.  This isn't a painting tutorial but if you're reading this and you want to know my formula just leave a comment below and I'll post it.

Step 6 - Plants

To make my plants I went to my local hobby store and bought everything that looked leafy that I could use.  I cut the leaves off and arranged them into plants.  To make the ferns I bought a few plastic palm trees from Eckersleys, cut the fronds off and stuck them together with a greenstuff base.  It's easier than you think.

Once you've put them together, undercoat black and paint them.  They're plastic so they are fragile and the paint might crack so cover them in mat varnish of your choice.

Mushrooms are easy.  Get a small peice of wire, put a small ball of greenstuff on the end and wrap it around into the stalk.  Then get a larger ball and just push it onto the end.  They look great and add some real contrast to your base.

Step 7 - Water

This is the hardest step and you can't just paint over it if you stuff it up, so take care and run a few tests first.  I did 4 test runs with different levels of ink and base paint colour to determine the colour scheme I wanted and settled on a fairly transparent green with a hint of brown.  The mix is roughly two table spoons of resin to 5 drops of ink (Vallejo) in a ratio of 4 green (Black Green specifically) to 1 brown ink.

The resin I've been using is Envirotex Lite.  It's readily available and pretty cheap.  Some forums will suggest other options, another is ICE Resin, but I've never tried them.  Envirotex Lite does a good job and is very simple to use.  Use gloves when you use it, not because it's overly harmful to your skin but because the risk of getting some on your fingers and then putting them in your eyes is high if you don't.  There are heaps of tutorials on you tube on how to use Envirotex Lite so I won't go into it here.  Google is your friend.

Once I was happy with the test results I used masking tape to mark around my diorama the height I wanted the resin to go to.  I had previously picked 6mm because masking tape comes in that height from the hobby store but you can pick any height.  

Then it's just a case of pouring your resin in.  Pour it in VERY slowly.  The best way to do this is to drill a small hole in the side of the cup holding your resin and drop it through that in a continuous stream.  It won't push into all the gaps on it's own, I used a toothpick to push it into any gaps that it's viscosity prevented it from going on to.

Step 8 - Cover and Let Cure

Cover it up so dust doesn't get in, trust me you'll regret it if it does or even worse if a bug crawls into it and get's stuck in the resin!  Once done, roughly 24 hours to be sure, pull the tape off and sand the edges flat with the finest sandpaper you can.  Use a gloss varnish to clear up the edge and here's the result.

Thanks for reading, I hope you get something out of this post, please leave a comment below or share this post.